Perfecting your makeup takes skill, a steady hand, and of course the right kind of lighting. So imagine the shock when you’ve nailed the formula, only to find your ‘mirror-perfect’ face appearing not-so-ideal in pictures. Considering photos are second to nature for millennials and gen Z alike, this issue is definitely one that needs addressing. While we have filters that help fix, blur, and perfect every imperfection out there, sometimes these filters can be far from reality. After all, you do want to look a little similar online and offline too, right?. Here are 7 makeup tips for photos that’ll make those selfies look that much better.
Tip #1: Perfect your base
Cameras can pick up the littlest of details, and therefore acing your base is very important. Remember to prep your skin properly before applying any makeup—a hydrating serum and moisturiser is the best way to start, before priming your skin. Instead of opting for a completely matte foundation, choose one that is dewy and only mattify your t-zone or the shiny areas with a translucent powder to give it a more natural look. Start off with a light coverage and build it up slowly, only in the areas that require it.
Tira Recommends:
Smashbox Always On Skin Balancing Foundation with Hyaluronic Acid & Adaptogens

Tip #2: Skip the brushes
While most people feel comfortable using a brush to blend in their foundation, experts recommend a different technique that will help prevent that streaky base. Start by blending your foundation with your fingers—the warmth from your hands will help melt the product into your skin, leaving you with a seamless base. Once you’re done washing your hands, use a damp makeup sponge to blend the product in even further for that smooth finish.
Tip #3: Use petroleum jelly on your high points
Perfect for those who want to add a little sparkle to their makeup look, adding petroleum jelly to the highpoints of your face before applying highlighter will really make you pop. The shine from the petroleum jelly paired with the shimmer from your highlighter will stand out in pictures, and make you LIT from within (without looking extremely sparkly).
Note: Petroleum jelly is quite thick and therefore can clog your pores. Avoid this hack if you’ve got acne-prone or oily skin that can break out easily.
Tira Recommends:
Anastasia Beverly Hills Stick Highlighter - Bubbly
Tip #4: Go a ittle heavy on the blush
While it may seem a little scary to go heavy on the blush, do it…for the camera. Colour tends to translate differently when captured in images, and therefore brightening your blush will help add a natural glow to your face when the flash hits it. Feel free to use a blush that adds a little shine to your cheekbones, to give it that radiance. Remember to blend the blush into your skin so that it appears natural, seamless, and not so stark.
Tira Recommends:
Plum Touch-N-Go Lip & Cheek Tint - 124 Tickled Pink
Tip #5: Contour your pout
A lot of people tend to skip the lip liner, however, if you are looking for that fuller, more picture-perfect lip then using a lip liner is the best way forward. Simply line your lips with a shade darker than your chosen lip colour and outline them. Fill in the outer corners and the centre of your pout, and some of the natural lines and creases on your lips. This’ll create a shadow and will contour your pout. Blend it with your ring finger. Apply your lipstick or gloss of your choice over the contours and blend away, once again! This will give your pout that juicy and full look, which’ll translate perfectly on pictures too.
Tira Recommends:
Rom&nd Glasting Water Tint - 05 Rose Splash
Tip #6: Spot contour
Woken up to the pleasant greetings of a pimple? Well, instead of concealing it, simply contour it! This TikTok favourite makeup tip for photos is great when you want to create an illusion of flat skin around your raised pimple. Using a small angled brush, circle your zit with a highlighter. Using another small tip brush, tap a little bronzer or contouring powder to the centre of your zit (and the highlighter circle). Top it off with a hint of foundation and blend the area away with a makeup sponge. You can finish off this makeup hack by setting the area with some face powder. This makes the pimple almost non-existent in photos.
Tip #7: Switch to brown
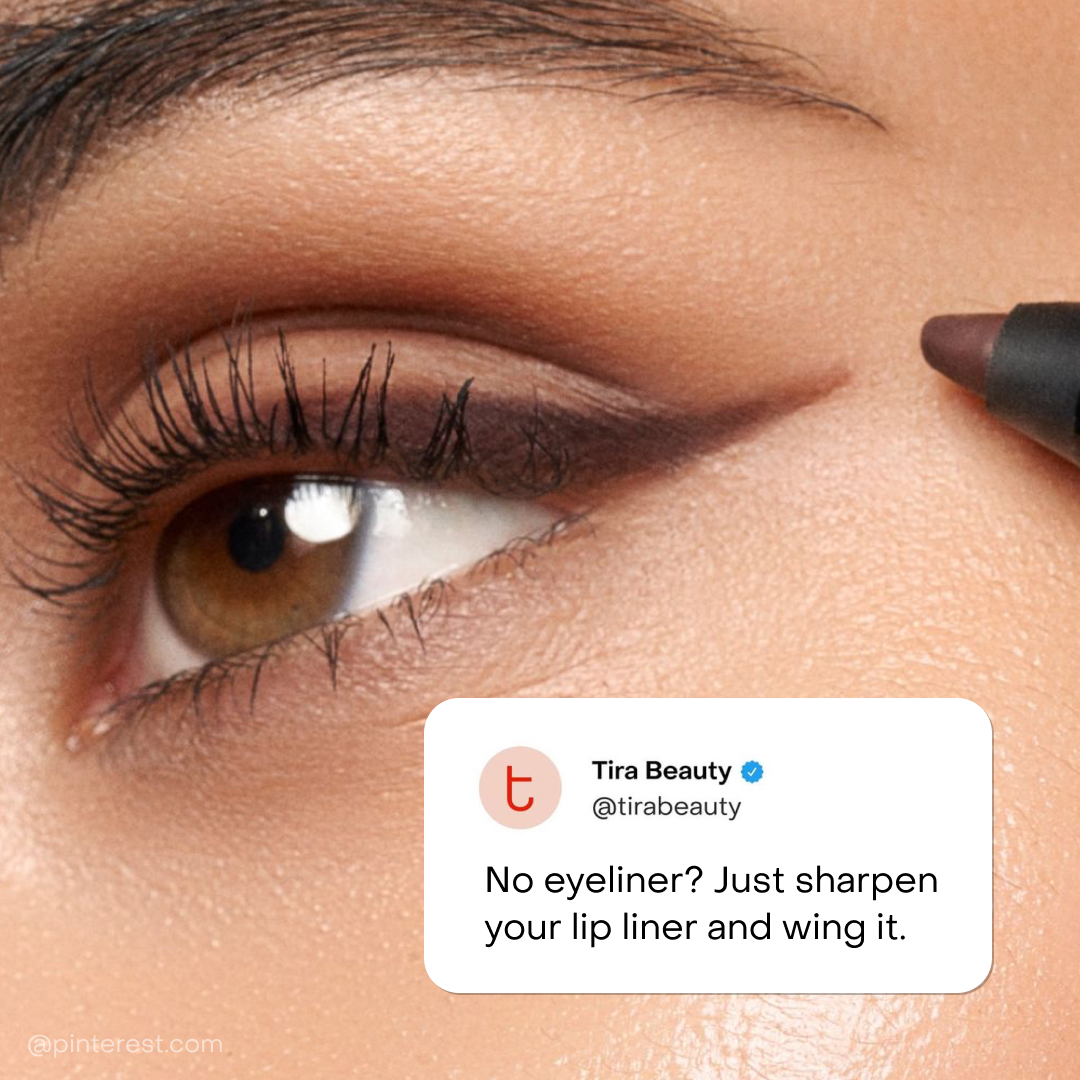
We all tend to gravitate towards the blacks when it comes to eye makeup! This can end up making your makeup look rather harsh in photos. Experts recommend switching out your black eyeliners and kajal pencils with brown instead. It softly creates definition around your eyes without looking extremely rigid and harsh on camera. If you want to soften the look even further, we recommend adding a matte brown eyeshadow or a bronzer to the line and blending it a little. Having a brown in your makeup kit is sure to save your look, especially for photos.


.JPG)


