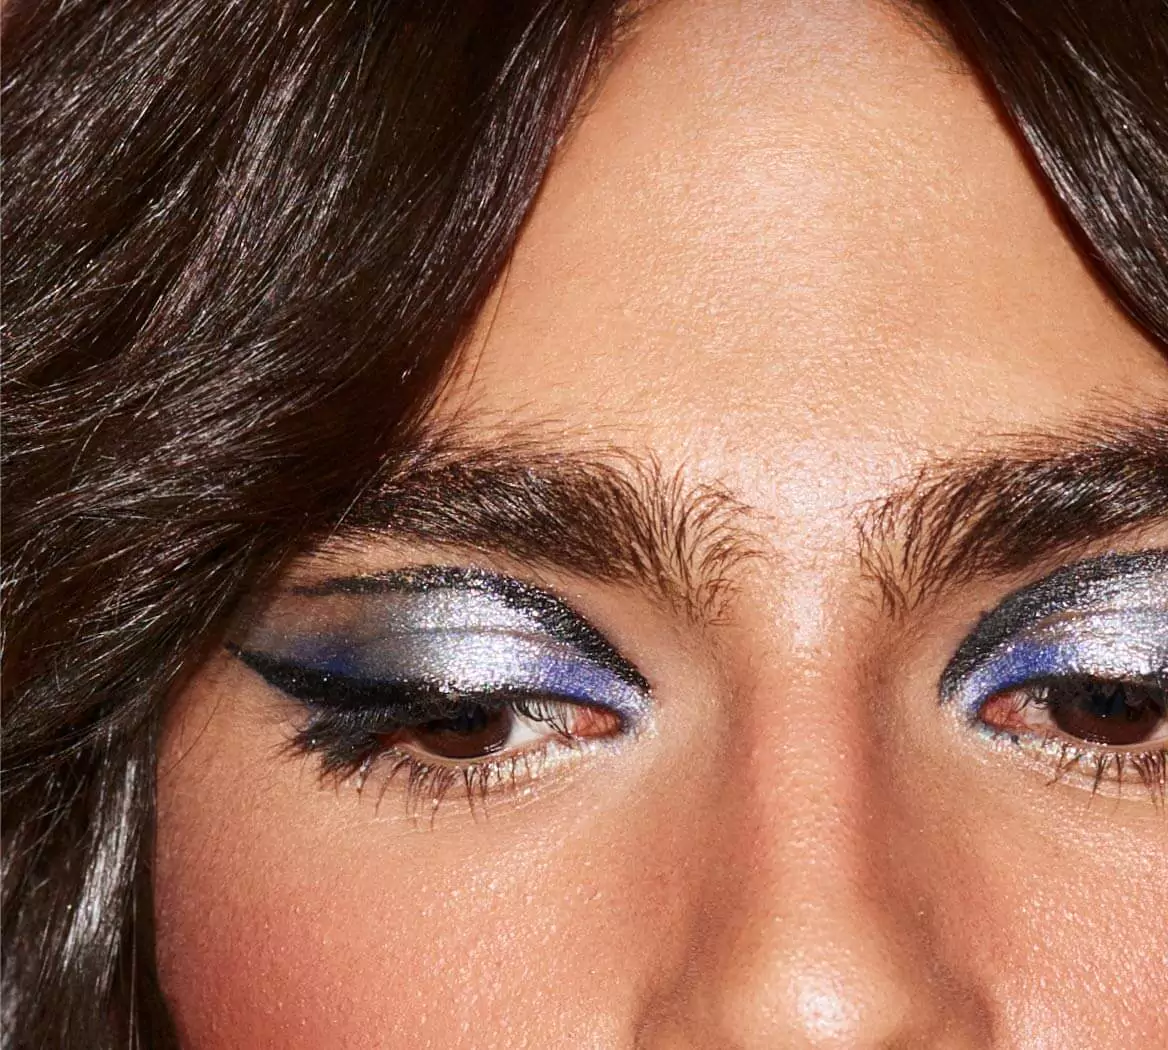
I’ve been a beauty editor for more than 8 years, and I’ve never been able to make a cut crease work. Somehow, my eyes feel too small, my eyeliner always smudges, and my lids just look muddy. Plus, with the resurgence of the clean girl makeup look, it hasn’t really been on my radar for the last couple of months. But with wedding season imminent, a bold eyeshadow look is top of mind again.
So, I watched a couple of videos to nail it this time around. Here’s what I learnt.
6 steps to a great cut-crease eyeshadow look
Step 1: Start with a clean canvas—wash your face thoroughly before working in moisturiser. Moisturised eyes are key to ensure that eyeshadow doesn’t settle into cracks or dry bits. Apply an eyeshadow primer to ensure that the pigment looks vibrant and lasts longer.
Step 2: Using a fluffy eyeshadow blush, apply a neutral transition shade across your eyelid crease. Then, using a smaller and more precise brush, use a darker shade to define your natural crease. Concentrate the colour in the crease, working in a back-and-forth windshield wiper motion. Not sure where this actually is? Use a spoon as your guide. Take a spoon and place it against your eyelid horizontally, aligning the handle with your crease.

Step 3: Using a concealer, carve out a sharp line on your eyelid, following the natural curve of your crease. This is where the term "cut crease" comes into play. Extend the line slightly beyond the outer corner of your eye. Then set it with translucent powder.
Step 4: Choose a bold eyeshadow colour and apply it to the lid. Blend the outer edges of this colour with the darker crease shade. Use a clean brush to soften any harsh lines.
Step 5: Highlight the brow bone by applying a shimmery, light eyeshadow or highlighter right on the bone below your eyebrows. Apply eyeliner across the lash line—a wing is the most common addition to this look.
Step 6: Curl your lashes for an added lift and apply mascara to tie it all in together.
Why did cut-creases get so famous?
If you tried these steps and it worked perfectly, that’s amazing! But if you still need a couple of tries to get it right, that’s fair game. Cut creases can be annoyingly difficult to do, but they can do wonders for making your eyes look big, bright and dramatic—and great on camera. Its origins can be traced back to the glamorous days of old Hollywood. Makeup artists working in the film industry utilized the cut crease to define the eyes of stars like Marilyn Monroe and Audrey Hepburn. The technique was born out of the necessity to make the actors' eyes pop on the black-and-white film screens.
It then got popular again in the late 2010s, when beauty bloggers like Jaclyn Hill and Desi Perkins began wearing the eyeshadow look in their ring light lit videos and photos. Now, there are a million different ways to wear a cut crease, and beauty enthusiasts aren’t just using nude, brown and black shadows with this transition effect. Colourful ones are super popular— Experiment with contrasting colors to create eye-catching combinations. Think teal in the crease with a pop of yellow on the lids or a sparkly eyeshadow on the crease to change things up.
Products you’ll want to have on hand:
M.A.C Connect In Colour X12 Eye Shadow Palette - Unfiltered Nudes


